Monday, December 27, 2010

Just a little Christmas fun at Nana's

Little Miss Kalli told Nana that she wanted to go to the polar express so this is what we came up with and we even had a surprise visitor! We served "make your own omelets" and waffles with hot chocolate of course. Then we watched the movie Polar Express. We all came in our PJ's and everyone enjoyed a great evening of Sunday dinner at our house. :)


Cute little Kalli

on this Christmas ornament I made


How about a little serendipity

This is such a fun thing to do some times.


I juat used dry wall tape


And here we have cute little Brennan on this Christmasy background.

Time to play catch up...


Here is a shoebox that I altered for a sweet little girl to hold her hair clips in.


Tuesday, November 23, 2010

Inspirational Sundays CUC 11/21/10

When was the last time that you produced a layout using your color wheel? Today we are going to do a little exploring. Here is my color wheel with many extended colors available to me.


Next I choose my main color that I am wishing to work with.


Look at how many additional colors will match my Navy picture selection.


My layout today is of a trip to a printing press museum in Palmyra, New York back in 2001. I decided to imitate the books on the shelf, so using all of my colors I cut strips of cardstock to make my shelf.


Me always having too many pictures that I don't want to leave out, I had to do a two page layout. I didn't want to distract from my cute little book shelf so I opted to go simple on the rest of the embellishments.

Friday Focus Cookin Up Creations 11/19/10

Today I thought we could focus on something that has been in my drawer for quite a while. That is "Bottle caps" There are lots of fun things to do with them, I just forget to use them. You can pound then=m and use them frontwards or backwards and get two different looks. You can put stickers on them and diamond glaze over them and they will look glassy. I chose to put cardstock circles on them, then letter stickers and use them as my title. I really wanted to make a bottle cap flower. Still might.


You buy them brand new. We got them for a group online and split them a few years ago. I bet if you googled them you could find them.

Here is my layout:

Free subscription

Get your FREE subscription to Scraps of Color Scrapbook Magazine today! All you need to do is visit their site at http://www.scrapsofcolor.com and sign up! That's it, no strings attached! They have a SUPER Creative Team ready to thrill and delight you throughout 2011! First issue arrives in February.

Sunday, November 14, 2010

Technique Tuesday 11/09/10


Today we are going to have a little fun with micro beads. I used them on this layout in the center of my flowers. First I will show you how I made the flowers. Just tear your cardstock into different size circles.

Next crumple them up in to a little ball one by one.

This will wrinkle them and give them some softness.

Unwrap your ball and this is what it will look like.

Place some diamond glaze or gem tac glue(I used modge podge because I can't find my diamond glaze right now. ) Put a whole bunch of little micro beads into the center of the flower. The glue will dry clear.

When finished you can place your flower on your creation and wha lah!! So very pretty.


And here is the layout I placed them on!

Friday Focus 11/05/10

This week I thought we would take a look at Hidden Journaling. On this layout my journaling is in the coin envelope. I love how the red makes this snow day page pop!!
Can't wait to see what you do with your journaling.


What's New Wednesday 10/27/10

We are going to get you working this week with those large background stamps. They come in all sorts of designs. I have owned several over the years and rarely use them so let's pull them out. This one is actually brand new, never used, although it has sat in my cupboard for at least two years. If you are worried about pressing and pressing on them after they are inked up only to have a misfigured stamped image, try inking up your stamp and pressing it down on your project that is cushioned. In other words...place a piece of foam (the kind that you use to stuff a package) on your work area...place your paper on the top of the foam...ink your stamp...then press your stamp onto the paper. When you remove it, you have a much sharper image.

Here is the stamp I used on this week's layout:

And here is my layout. What will you come up with?
Technique Tuesday Oct. 19, 2010 at Cookin Up Creations

Are you ready for a fun technique to brighten your "PINK" pages this week for Breast Cancer Awareness?
We are going to be making 3D flowers. (I got this idea from Kaisercrafties, if you want to take a look http://www.kaisercraft.net/blog/tuesday ... ailinglist )

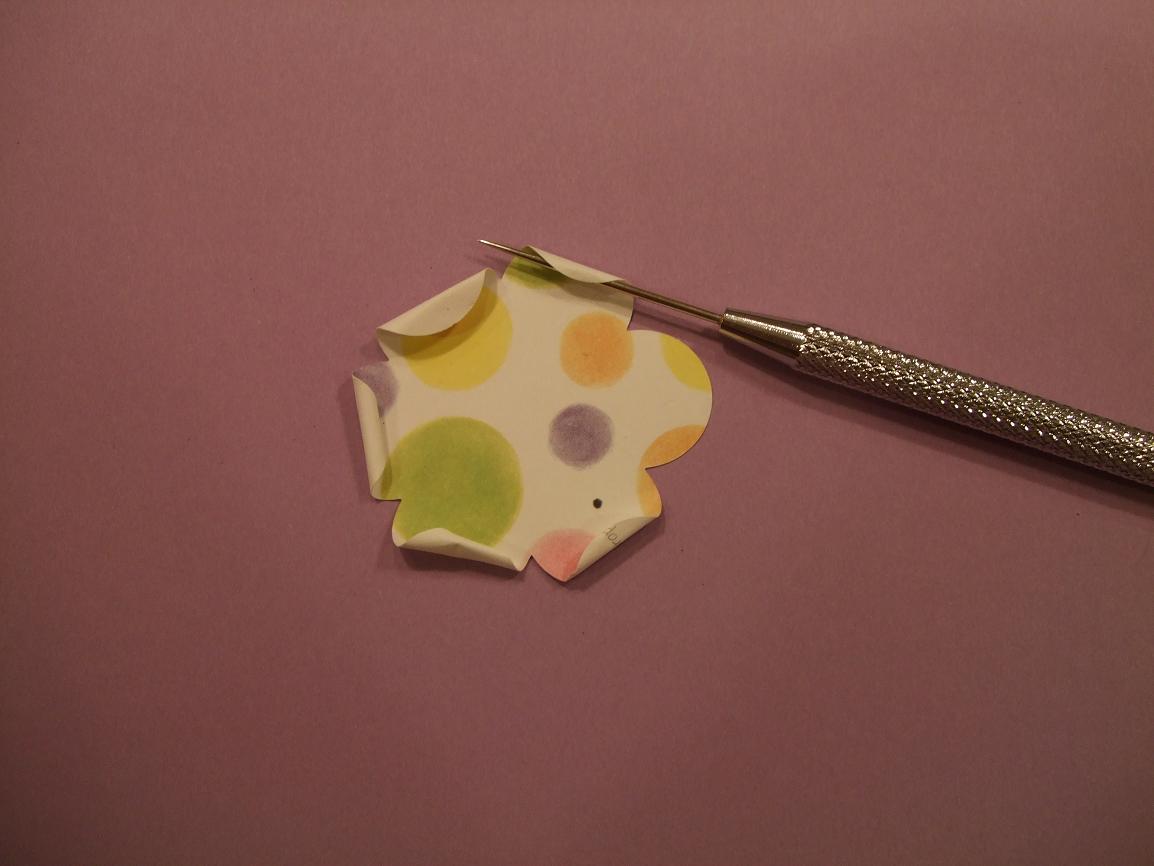
First you need to cut or punch three or four flowers of the same shape.


Then with a toothpick or needle poker, roll the edges of the petals toward you


Next place them inside each other largest to smallest


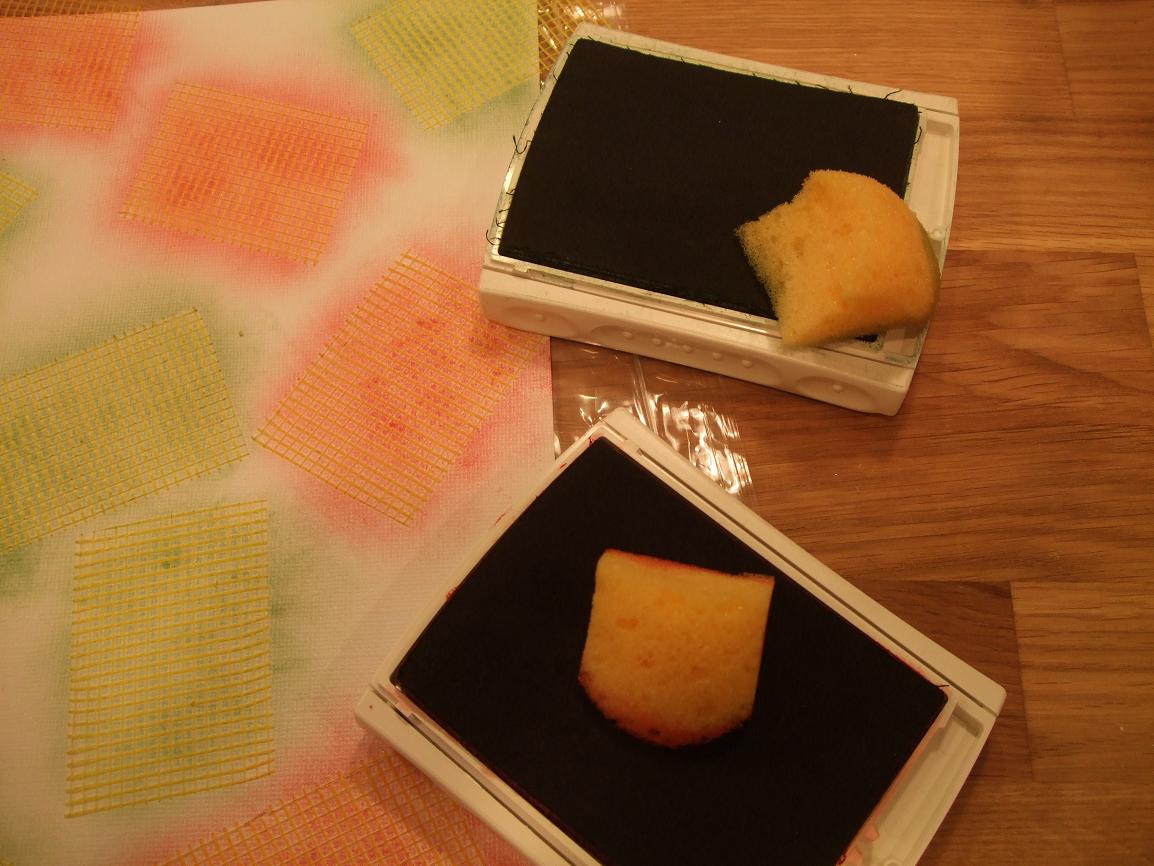
I inked my edges pink, put a jewel in the center and now they are ready for your page.

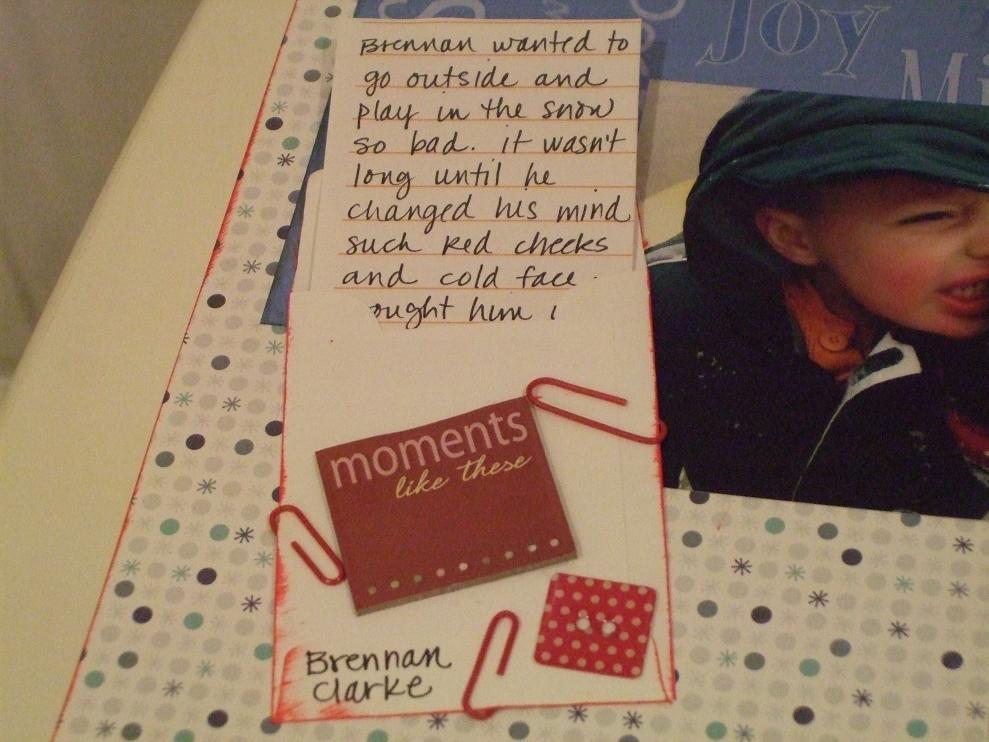
I placed them on this layout of "Miss Kalli" my darling granddaughter, who absolutely loves pink. When she saw this layout she wanted to know if she could have it. What better compliment than that can a scrapbooking grandma get?


Saturday, October 16, 2010

Cookin' Up Creations What's New Wednesday 10/13/10


A wonderful Fall layout with glitter. I used stickles on the brads as well as the mushrooms and rocks in the pattern paper.

Cookin' Up! Creations Transformation Thursday 10/14/10


This week, we played a little with paint.

Cookin' Up! Creations Sketchy Saturday 10/09/10


Here is the Sketch by Helen Croft that I used to make a layout and also a card, this shows that you can turn a layout sketch in to a card sketch.

Cookin' Up Creations DT Reveal Album

<


div>


Here is a Punky Sprouts album that I made. I love how it turned out.